- Go to https://portal.azure.com
- Sign in with your University email address
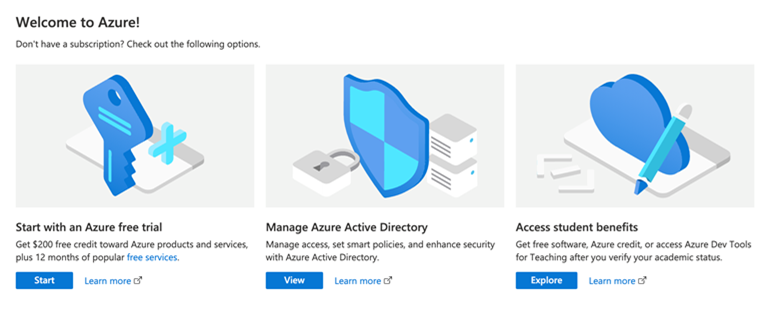
- Click on “Explore” under Access Student Benefits as shown in the photo below
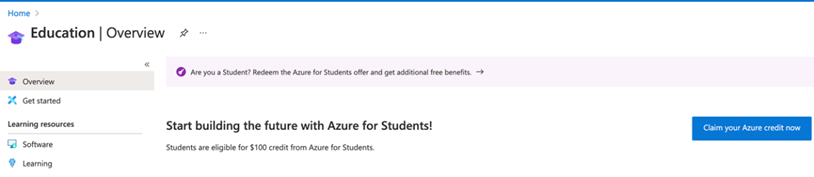
- Click “Claim your Azure credit now”
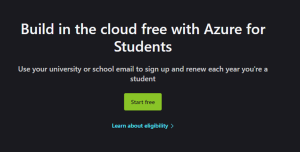
- Click “Start Free”
- You may be asked to sign in again, if you are, please sign in again.
- Complete the required sign-up information as shown below. In the phone section, please provide your cell phone as it may require a verification code before proceeding to the next step.
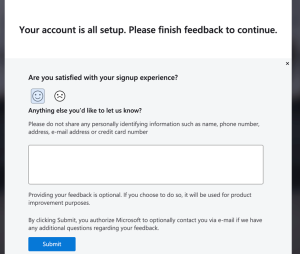
- Complete the feedback section and press Submit
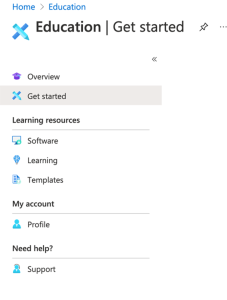
- You are now signed into the education hub. Click on Software from the left side tab
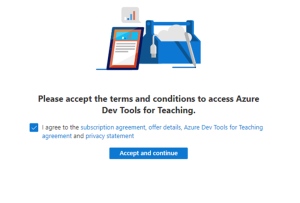
- Once you click on software, you may be told you have not accepted the terms and conditions as shown in the photo below. Please click this ribbon and “Accept” the terms to continue to download the software
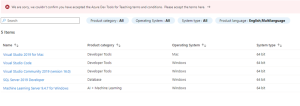
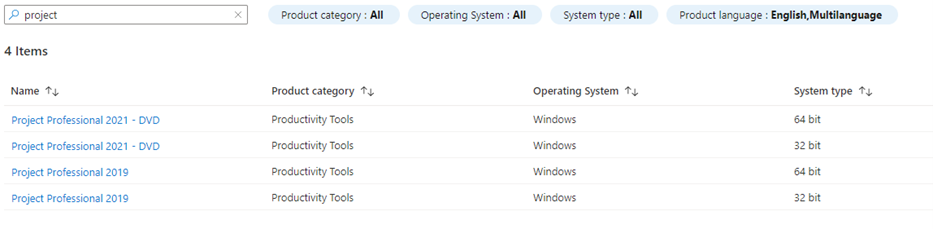
- In the search bar, type in “project” as shown in the photo below. Please note if your computer is running a 32bit or 64bit version of windows before downloading the program.
- Most computers run a 64bit operating system, however, if your computer is running a 32bit operating system, please change the “System Type” to “All” as shown in the photo below. You now can click on the version of Project, either 2019 or 2021 that you need to install.
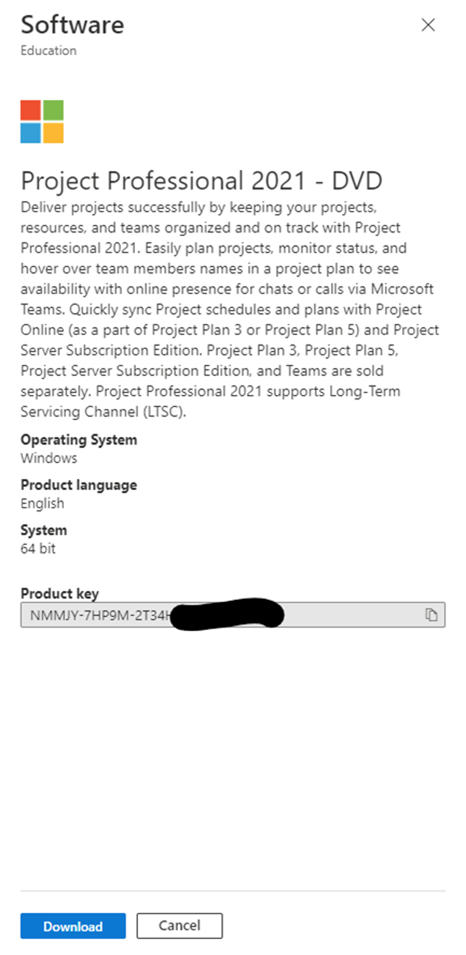
- Once you click on the version you wish to install, click “View Key” on the right side of the page, and then “Download” in the bottom right corner after your product key becomes visible