
What is Duo?
DUO is a 2 factor authentication method required by the university to help secure your account. With Duo’s single-tap, user-friendly interface, users can quickly verify their identity by approving push notifications before accessing applications. It’s just as quick to deny an unfamiliar login attempt, so users can easily stop fraudulent attempts to access personal data. To learn more, including how to enroll and manage devices, review the DUO Everywhere Frequently Asked Questions.
Is my device supported?
- iPhone iOS
- Android
- Mac OS
- Windows
- ChromeOS
- Unix
The current version of Duo Mobile supports iOS 11.0 and greater, but we cannot guarantee Duo Mobile’s functionality on preview/beta software provided by Apple. Duo recommends upgrading to the most recent version of iOS available for your device.
The current version of Duo Mobile supports Android 7.0 and greater. Duo recommends upgrading to the most recent version of Android available for your device. We cannot ensure compatibility of Duo Mobile with custom variants or distributions of Android. Duo Mobile is not supported for use on ChromeOS or Huawei. Duo does not provide official support for non-standard custom Android distributions like OnePlus, LineageOS, or ColorOS.
Duo’s Mac authorization plugin supports OS X 10.10 (Yosemite) and all later macOS versions, which includes:
- 10.10 (Yosemite)
- 10.11 (El Capitan)
- 10.12 (Sierra)
- 10.13 (High Sierra)
- 10.14 (Mojave)
- 10.15 (Catalina)
Duo Authentication for Windows logon 4.0.0 and later supports the following Windows versions:
- Windows Server 2019
- Windows Server 2016
- Windows 10
- Windows 8.1
- Windows Server 2012 R2
- Windows Server 2012
Duo Mobile is not supported for use on ChromeOS.
Duo can be easily added to any Unix system to protect remote (SSH) or local logins with the addition of a simple pam_duo PAM module. It has been tested on Linux (RedHat, Fedora, CentOS, Debian, Ubuntu, Amazon Linux), BSD (FreeBSD, NetBSD, OpenBSD), Solaris, and AIX. The code is open-source and available on GitHub. Instructions can be found here, but we do not have the resources to support DUO while using a Unix based OS.
Enrollment of a device is the first step with MFA.
You may self-enroll upon your first access to a DUO protected resource (myCharger) OR an email will be generated and sent to you following the creation of your DUO account that guides you through the enrollment / registration process. In either case the enrollment process is the same.
I don't have a mobile phone, what should I use?
- If you do not have a mobile phone, you may request a DUO Push exemption. Please fill out this form if you do not have a mobile phone. Please note this approval of this request is at the discretion of OIT.
I'm a new University of New Haven community member. How do I get started?
- If you use any application that requires the Central Authentication Services (CAS) or University of New Haven’s Virtual Private Network (VPN), then you will need to know more about Multifactor Authentication or MFA. Your account at DUO Security, our MFA provider, is automatically created when your University of New Haven affiliation is established.
Now that my first device is enrolled
Now that all my devices are in DUO
Now that I've enrolled, my email isn't working in my mail app.
- If you you have successfully enrolled in DUO, you may now notice that you are not able to view your email using the built in mail application or the Outlook app. You will need to remove the account entirely, and then re-add the account. Instructions on how to re-add the account to your mobile device can be found here. Instructions for re-adding the account to a desktop app are almost identical.
How to enroll:
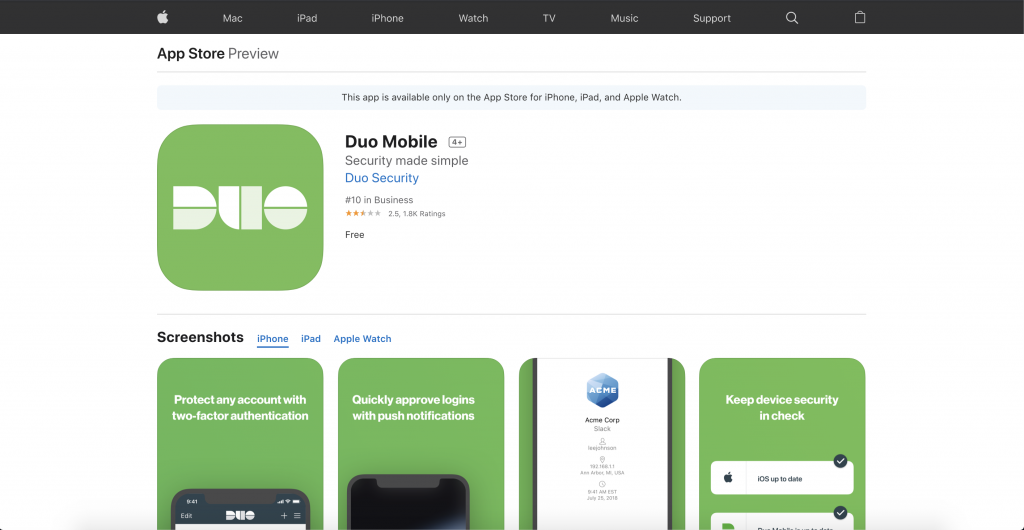
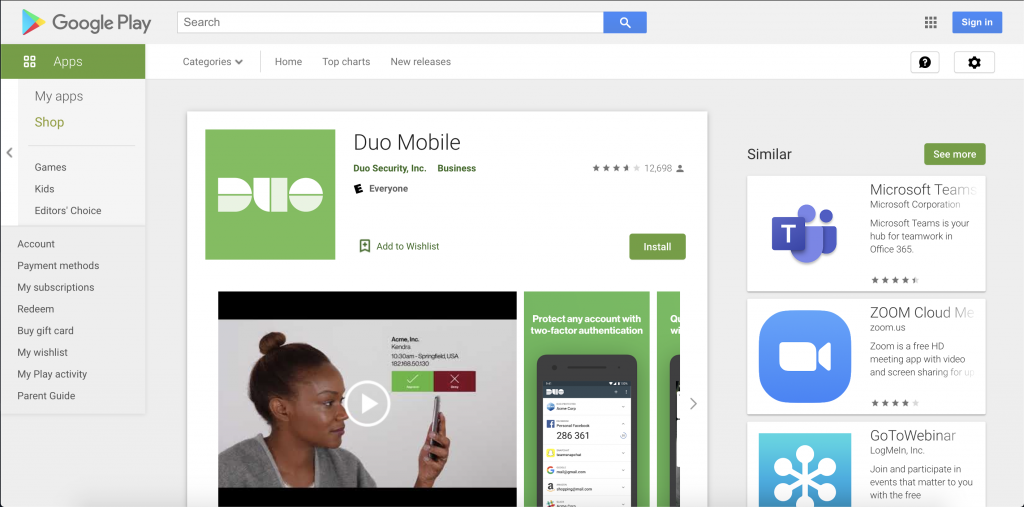
Step One:
Download the DUO app onto your device.
Step Two:
Choose to enroll via myCharger or email.
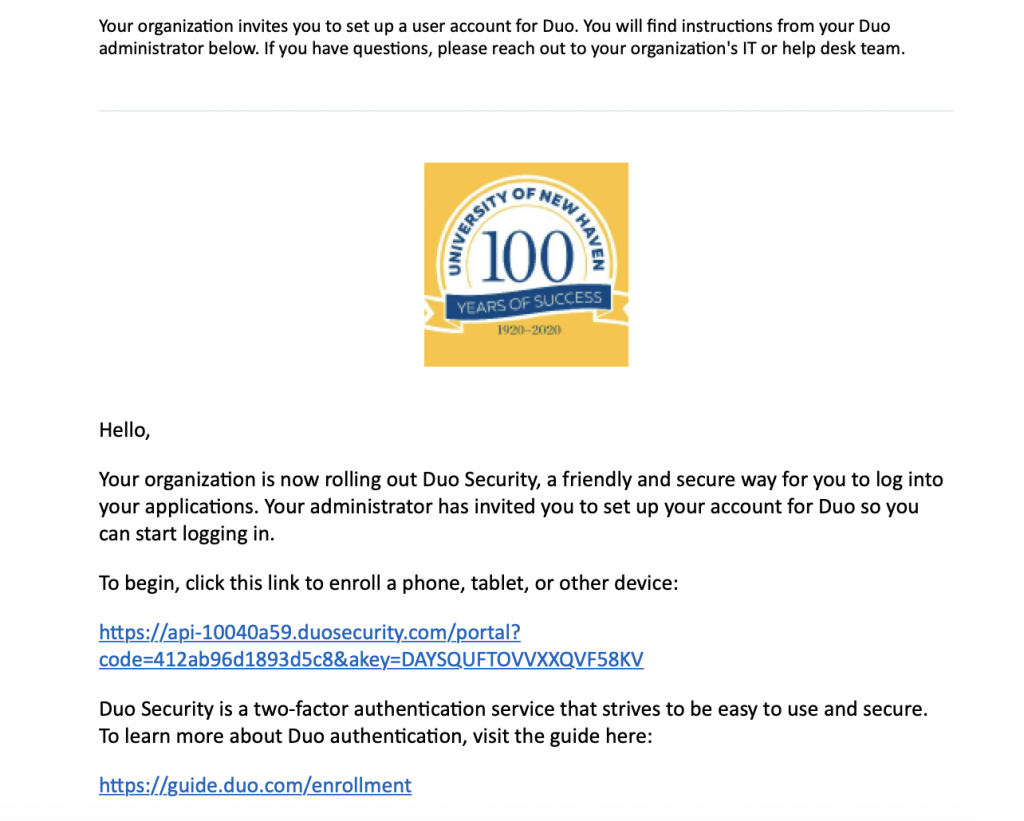
Enroll via email.
ON A COMPUTER, click on the link sent to you by DUO in your University email inbox.
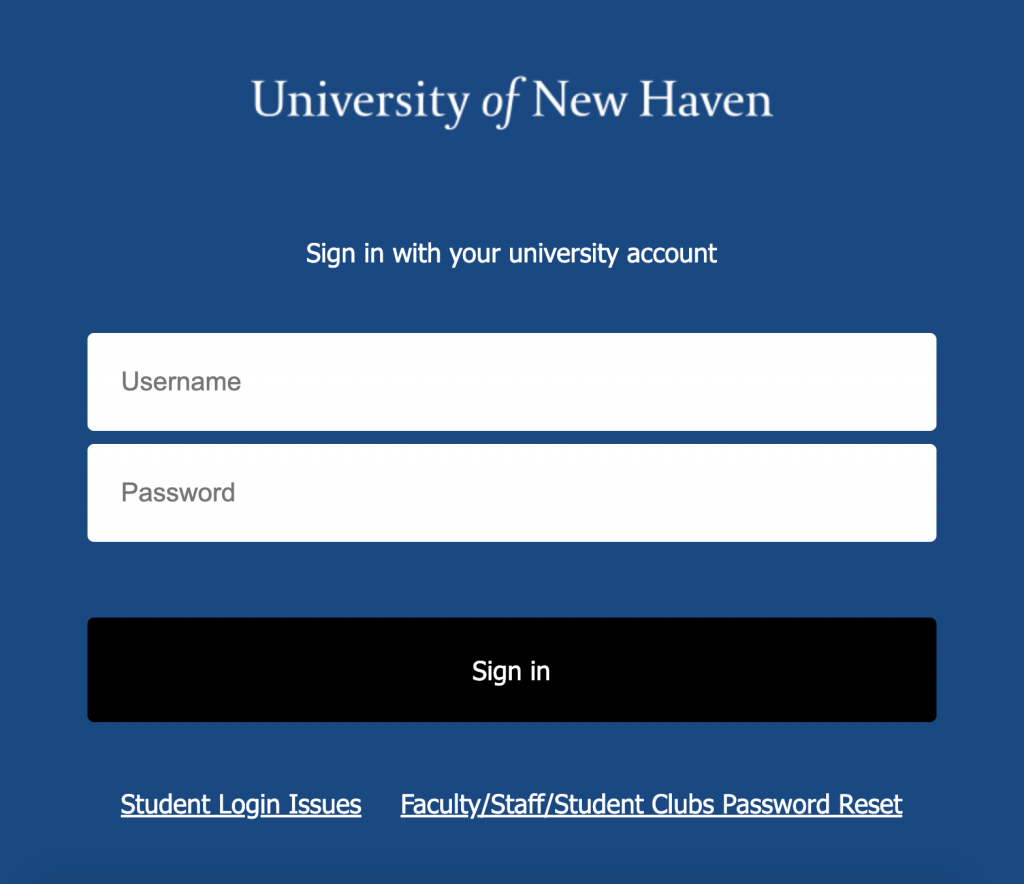
Step Three:
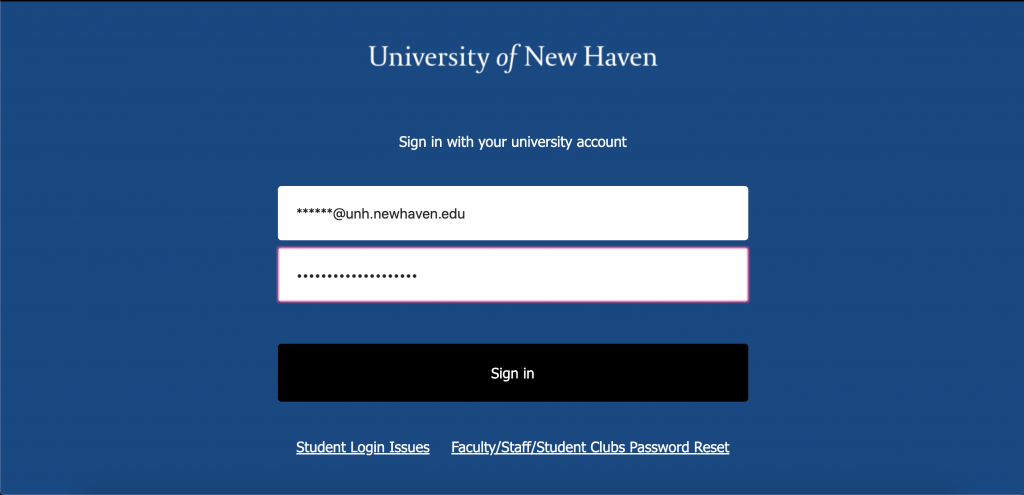
You will be asked to log in with your University of New Haven credentials.
Step Four:
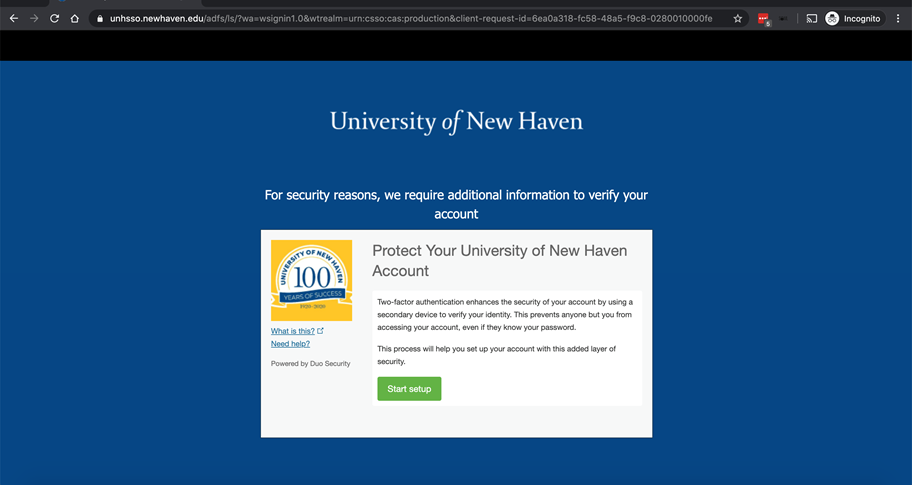
Click on “Start Setup”.
Step Five:
Select the type of device that you will be adding (we recommend mobile).
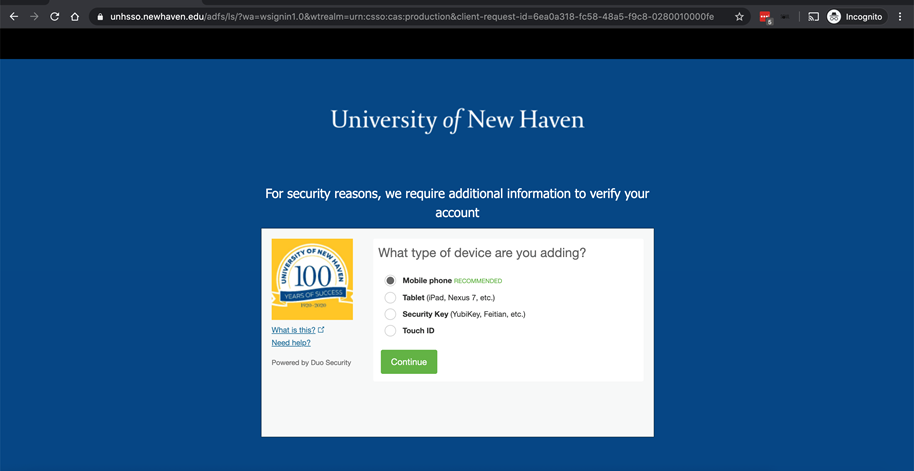
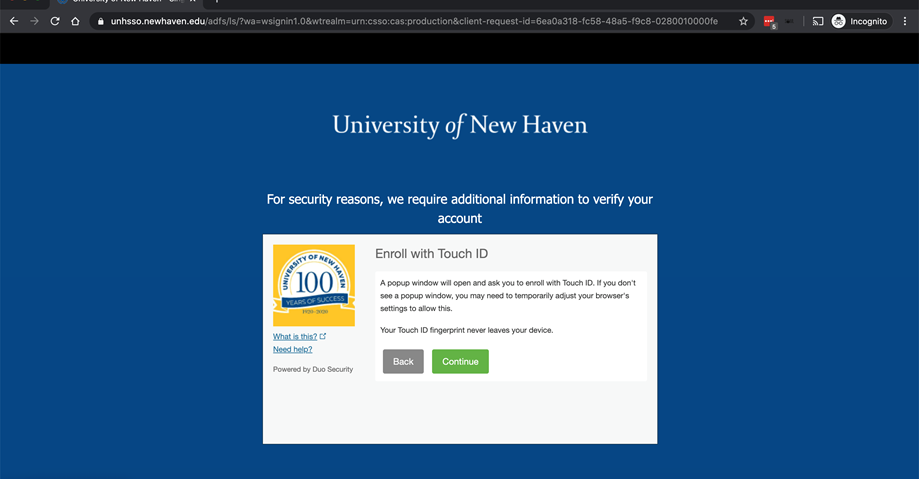
If you are looking to enroll with Touch ID, you must do so before enrolling another device type.
Step Six:
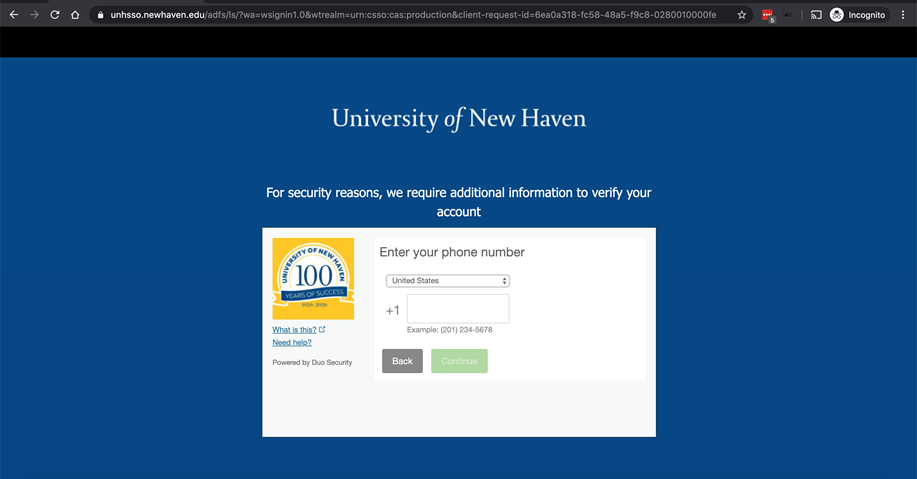
Enter your mobile phone number, and then hit “Continue”.
Step Seven:
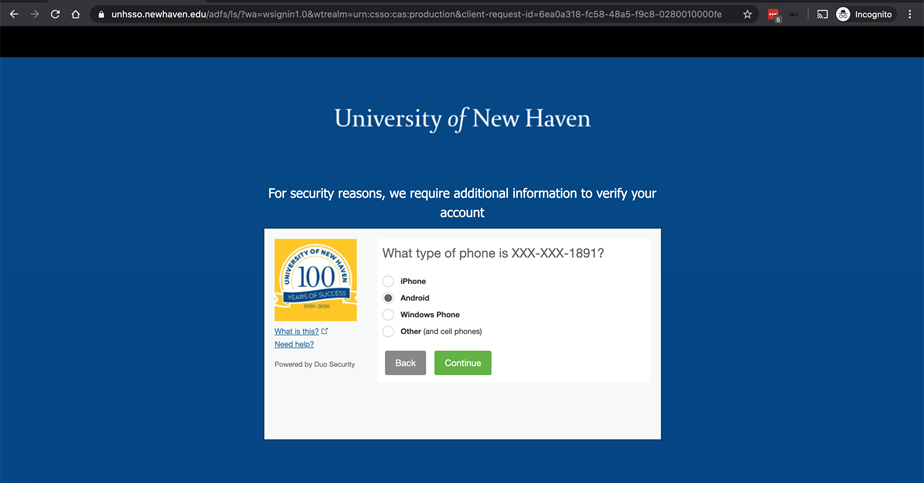
Select what type of device is linked to the phone number provided.
Step Eight:
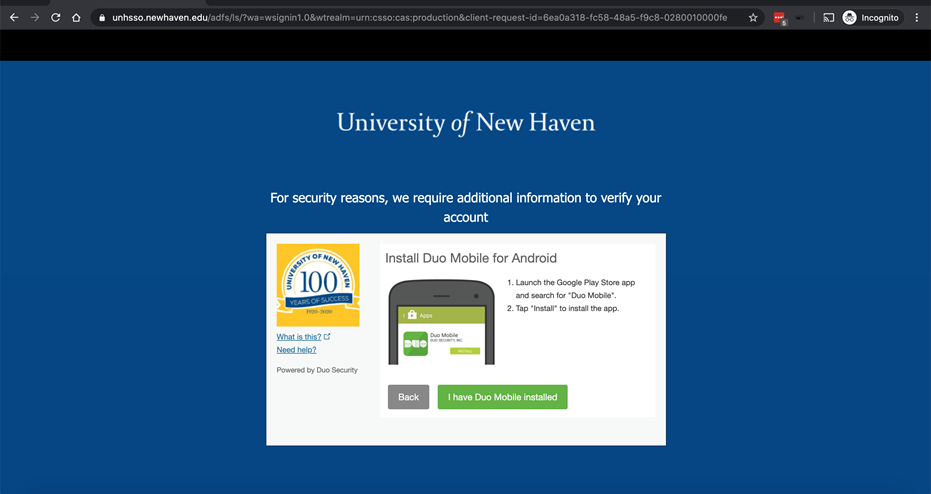
If you have not done so already, download the Duo Mobile app (links provided above). Once downloaded, click “I have Duo Mobile installed”.
Step Nine:
Activate Duo Mobile by scanning the bar code provided with your mobile device.

Step Ten:
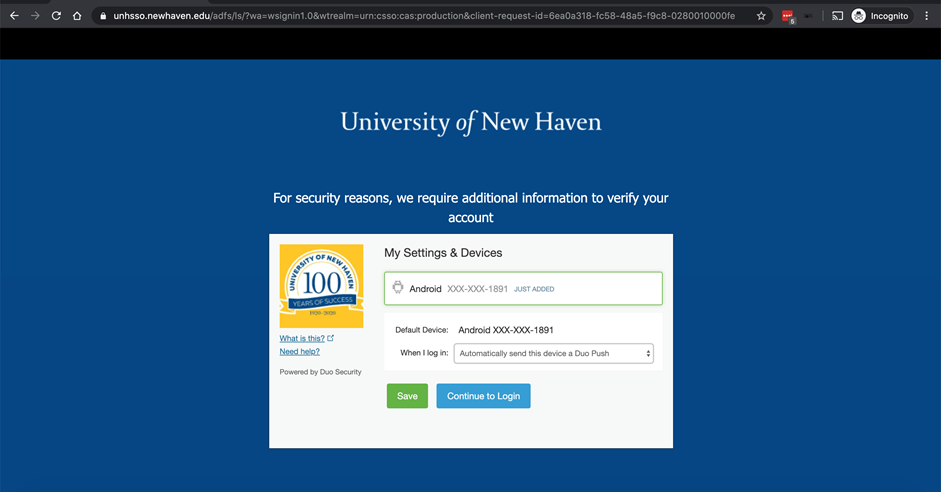
Choose what authentication type you would like when you log in.
Step Eleven:
Choose to send a Duo Push to your device, or enter a passcode generated in the Duo app.

Step Twelve:
When you see the myCharger home screen, you have successfully set up Duo Mobile.
